Introduction: Saniderm vs. Traditional Healing
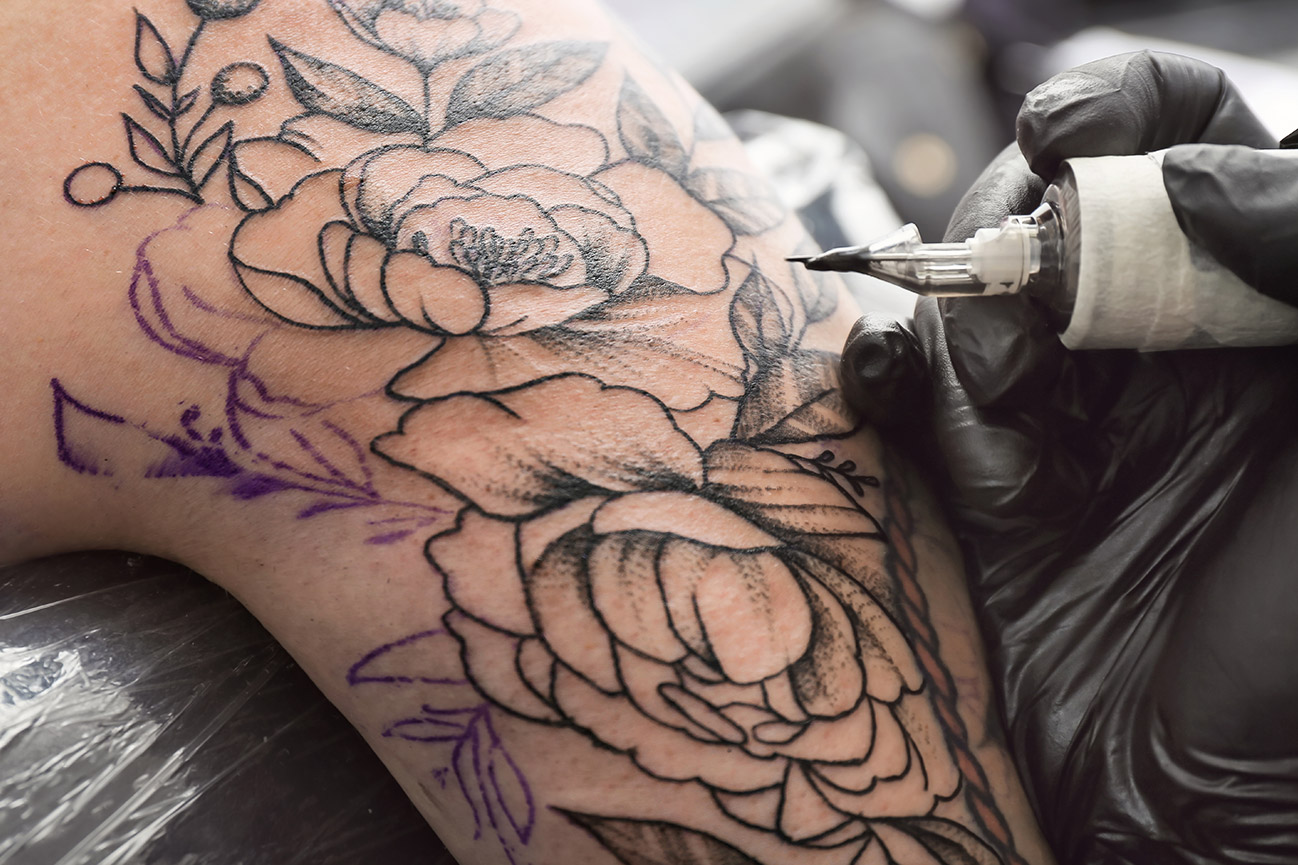
Getting a tattoo is only the beginning—the healing process determines how well your tattoo settles into the skin. Proper aftercare can mean the difference between a vibrant, long-lasting piece and one that fades or heals unevenly. That’s why choosing the right healing method is so important.
Two of the most common approaches are Saniderm tattoo healing, which uses a medical-grade bandage to protect the tattoo, and traditional healing, which relies on washing, ointment, and air exposure. Both methods have their advantages, but which one is better?
In this guide, we’ll break down Saniderm vs. traditional healing, explore the tattoo healing timeline, and debunk common tattoo healing myths so you can avoid mistakes and heal your tattoo the right way.
Tattoo Healing Timeline: What to Expect at Each Stage
Tattoo healing happens in stages, and knowing what to expect can help you avoid over-worrying about normal changes—or missing signs of trouble. While Saniderm tattoo healing and traditional healing have different approaches, the overall timeline remains the same.
Stage 1: The First 24–48 Hours (Inflammation & Oozing)
Right after getting a tattoo, your skin is essentially an open wound. It will be red, swollen, and possibly warm to the touch. It’s also normal for plasma, excess ink, and even a little blood to leak from the tattoo.
- Saniderm users: The bandage will trap fluids under the adhesive, which might look cloudy or messy. This is normal and part of the healing process.
- Traditional healing users: You’ll need to wash your tattoo gently 2–3 times a day with fragrance-free antibacterial soap to prevent infection.
During this stage, it’s important to avoid touching your tattoo with dirty hands and to be cautious of any friction or irritation on the area. Allow the tattoo to naturally go through this inflammatory process without trying to rush it.
Stage 2: Days 3–7 (Scabbing & Peeling Begin)
By day three, the tattooed skin will start to dry out. This is when scabs may form, and the tattoo may feel tight or itchy. Resist the urge to scratch or pick at it!
- Saniderm users: If using a second bandage, this is around the time you might remove it. Follow proper removal steps to avoid damaging the tattoo.
- Traditional healing users: Apply a thin layer of fragrance-free moisturizer 2–3 times a day to keep the skin from cracking but avoid over-moisturizing.
During this phase, expect to see some scabbing and peeling. It’s crucial to not pick at scabs, as this can pull out ink. Keeping the tattoo hydrated will help reduce discomfort and support the healing process.
Stage 3: Days 7–14 (Flaking & Itching Peak)
At this stage, the tattoo will start peeling, similar to a sunburn. Some areas may look dull or flaky, but this is temporary.
- Itching is normal, but scratching can pull out ink. If it becomes unbearable, gently pat the tattoo or use a fragrance-free lotion.
- Some colors might look faded or patchy, but the ink will settle in as healing progresses.
It’s important to be patient during this phase, as the tattoo will look worse before it looks better. The peeling is part of the healing process, and with proper aftercare, the skin will regenerate and reveal a clearer design.
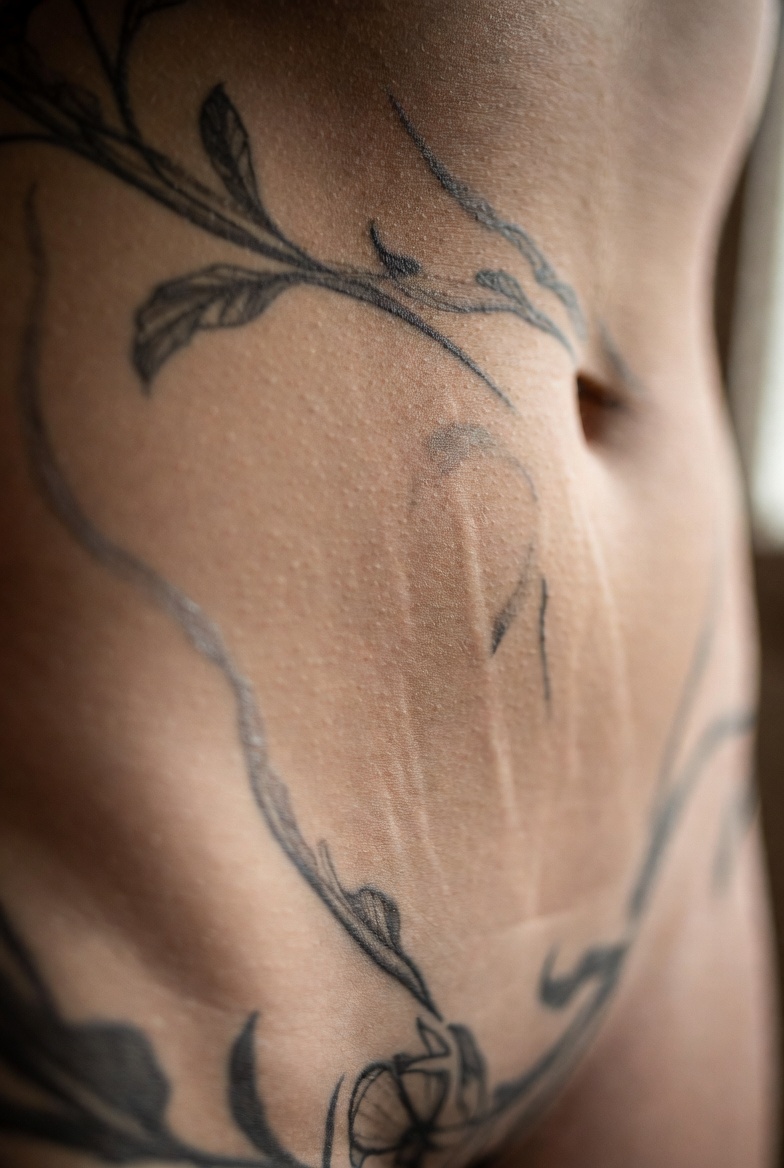
Stage 4: Weeks 3–4 (Final Healing & Skin Regeneration)
By now, most of the peeling and flaking should be over, and the tattoo will start looking clearer. However, the deeper layers of skin are still healing, so the tattoo may appear slightly dull or cloudy until full regeneration occurs.
- At this stage, sun exposure is the biggest threat. Always use SPF 30+ sunscreen on healed tattoos to prevent fading.
- Even after peeling stops, continue moisturizing to keep your tattoo vibrant.
- It’s also important to note that even after visible healing completes, tattoos may continue to “settle” for several months. The skin underneath is still adjusting and regenerating, so be patient and continue caring for your tattoo properly.
By the end of this phase, your tattoo should look much better, but the skin underneath is still working to regenerate. Don’t be discouraged if it’s still a bit dull; that’s perfectly normal. Continue to protect it from the sun and moisturize regularly.
What Is Saniderm and How Does It Work?
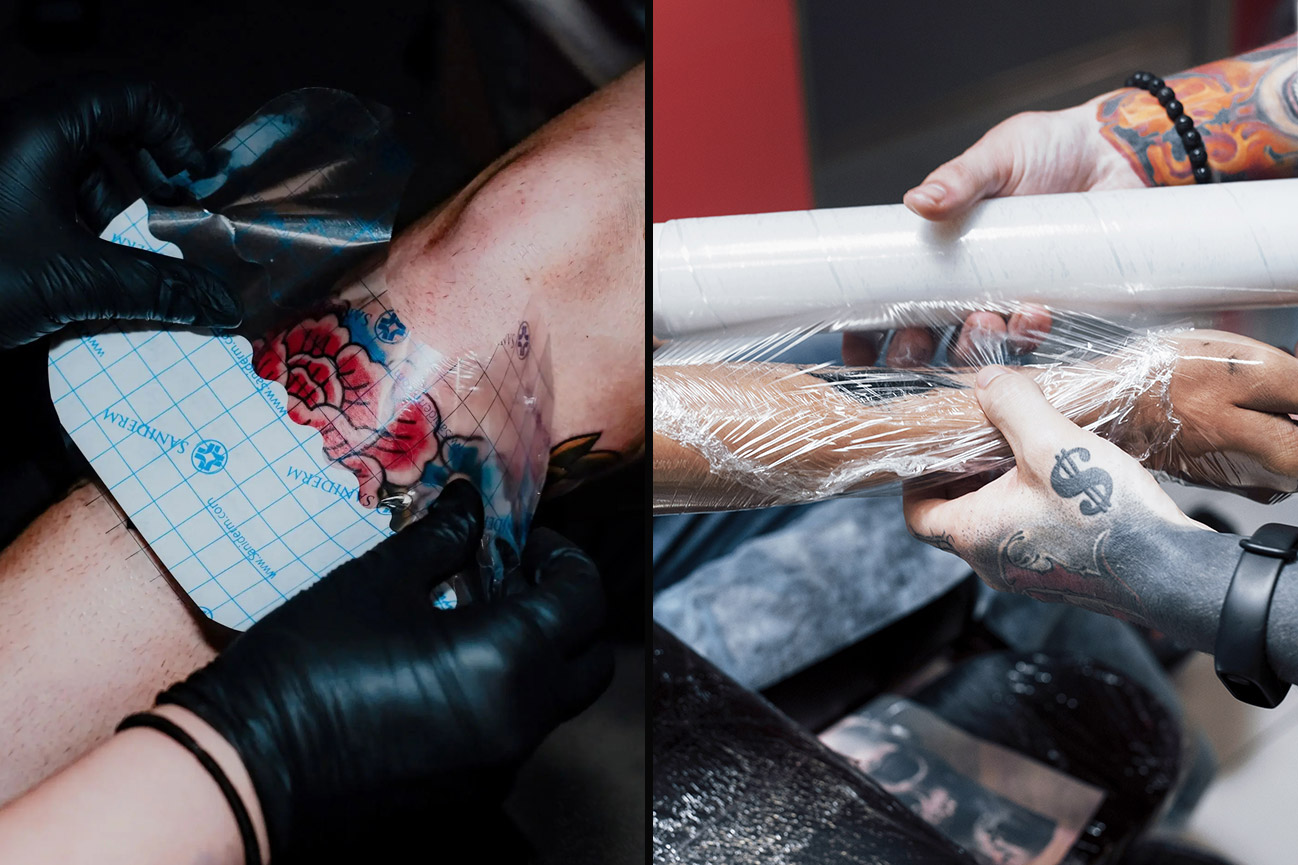
Saniderm is a transparent, breathable bandage designed to create a sealed environment for a healing tattoo. Unlike plastic wrap, which is meant for short-term use, Saniderm allows the skin to breathe while keeping bacteria and irritants out. This method has gained popularity because it simplifies aftercare while reducing the likelihood of scabbing and irritation.
How Long Should You Keep Saniderm On?
Most tattoo artists recommend leaving the first Saniderm application on for 24 hours after getting your tattoo. After this initial period, you should remove the bandage and apply a fresh layer of Saniderm. The second bandage can typically stay on for three to five days, depending on how the tattoo is healing.
If you notice any fluid buildup or the bandage begins to peel prematurely, it’s essential to remove it carefully. Keeping Saniderm on too long can cause irritation or affect healing, so it’s better to switch to traditional aftercare sooner rather than later if the tattoo is ready.
How to Properly Remove Saniderm
To remove Saniderm without damaging your tattoo, it’s important to do it gently and carefully:
- Wash your hands thoroughly before touching the tattoo or Saniderm.
- Peel back the bandage slowly, starting at one corner. If you feel resistance, you can use a bit of warm water to loosen the adhesive.
- Take your time to avoid pulling at the skin. If you notice the tattoo is sticking to the bandage, let it soak for a few minutes to loosen it.
- Clean the tattoo gently with warm water and mild, fragrance-free soap after removing the bandage.
- Apply a thin layer of ointment or fragrance-free moisturizer once the tattoo is clean.
Saniderm is a great option for those looking for low-maintenance healing. But, remember, it’s important to monitor the tattoo during the process and follow your artist’s instructions for the best outcome.
What Is Traditional Tattoo Healing
Before Saniderm tattoo healing became popular, the standard approach to aftercare involved regular washing, moisturizing, and allowing the tattoo to breathe. This method requires more hands-on care, but it has been used successfully for decades.
Traditional healing relies on keeping the tattoo clean and hydrated while avoiding anything that could cause excessive scabbing, irritation, or infection. While this method can be more time-consuming, some people prefer it because they can monitor their tattoo’s healing progress closely.
Steps for Traditional Tattoo Healing
- Wash the tattoo regularly – The tattoo should be gently washed with fragrance-free antibacterial soap two to three times per day to remove excess plasma and prevent infection.
- Apply a thin layer of ointment – A non-scented, petroleum-free ointment or tattoo-safe moisturizer should be used sparingly to keep the skin hydrated without suffocating it.
- Allow the tattoo to breathe – The tattoo should not be covered for long periods, as fresh air helps the healing process.
- Avoid excessive water exposure – Direct water pressure, swimming, and soaking in baths should be avoided until the tattoo is fully healed.
- Wear loose clothing – Tight clothing can rub against the tattoo, causing irritation or pulling at scabs before they’re ready to fall off.
Pros of Traditional Healing
- No risk of adhesive reactions – Since there are no bandages involved, people with sensitive skin won’t have to worry about irritation.
- Works well for heavily saturated tattoos – Large tattoos with solid black or heavy color may heal better with more air exposure.
- Allows for full visibility – Since the tattoo isn’t covered, it’s easier to monitor the healing process and spot any potential issues early.
Cons of Traditional Healing
Requires frequent cleaning and moisturizing – This method demands more effort, as neglecting aftercare can lead to excessive scabbing or infection.
Higher risk of scabbing and peeling – If the tattoo dries out too much, thick scabs can form, which may affect how the ink settles.
Greater chance of infection – Since the tattoo is exposed to the environment, it’s more vulnerable to bacteria if proper hygiene isn’t maintained.
Traditional healing gives you full control of the process, but it requires diligence. Keeping the tattoo clean, moisturized, and protected from irritation is essential for the best results.
Tattoo Healing Myths: What’s Fact and What’s Fiction?
There’s a lot of misinformation about the tattoo healing process. Let’s set the record straight.
Myth 1: You Should Use Vaseline on a Healing Tattoo
False.
Vaseline and other petroleum-based products trap moisture and bacteria, which can cause infection and delay healing. Use a tattoo-specific moisturizer instead.
Myth 2: A Tattoo Needs to Stay Wet the Whole Time
False. While moisturizing is important, over-moisturizing can suffocate the skin and lead to irritation. The goal is balanced hydration.
Myth 3: If Your Tattoo Scabs, It’s Ruined
False. Light scabbing is normal. The problem arises when scabs become thick and hard, which can pull out ink. Keeping the tattoo clean and moisturized prevents excessive scabbing.
Final Thoughts on Tattoo Healing Myths
With so much conflicting information out there, it’s always best to follow tattoo aftercare instructions from a professional rather than internet advice.
Understanding how the tattoo healing process actually works can help you avoid mistakes, speed up recovery, and keep your ink looking its best for years to come.
Final Thoughts: Saniderm vs. Traditional Healing
The best way to heal a tattoo depends on personal preference, tattoo size, and skin sensitivity. Saniderm tattoo healing offers a protective, low-maintenance option that reduces scabbing, while traditional healing allows for more breathability and hands-on care. Both methods can lead to a successful healing process when done correctly.
For the best results, follow your tattoo artist’s aftercare instructions and pay attention to how your skin responds. Taking care of your tattoo properly ensures that it heals well and looks great for years to come.