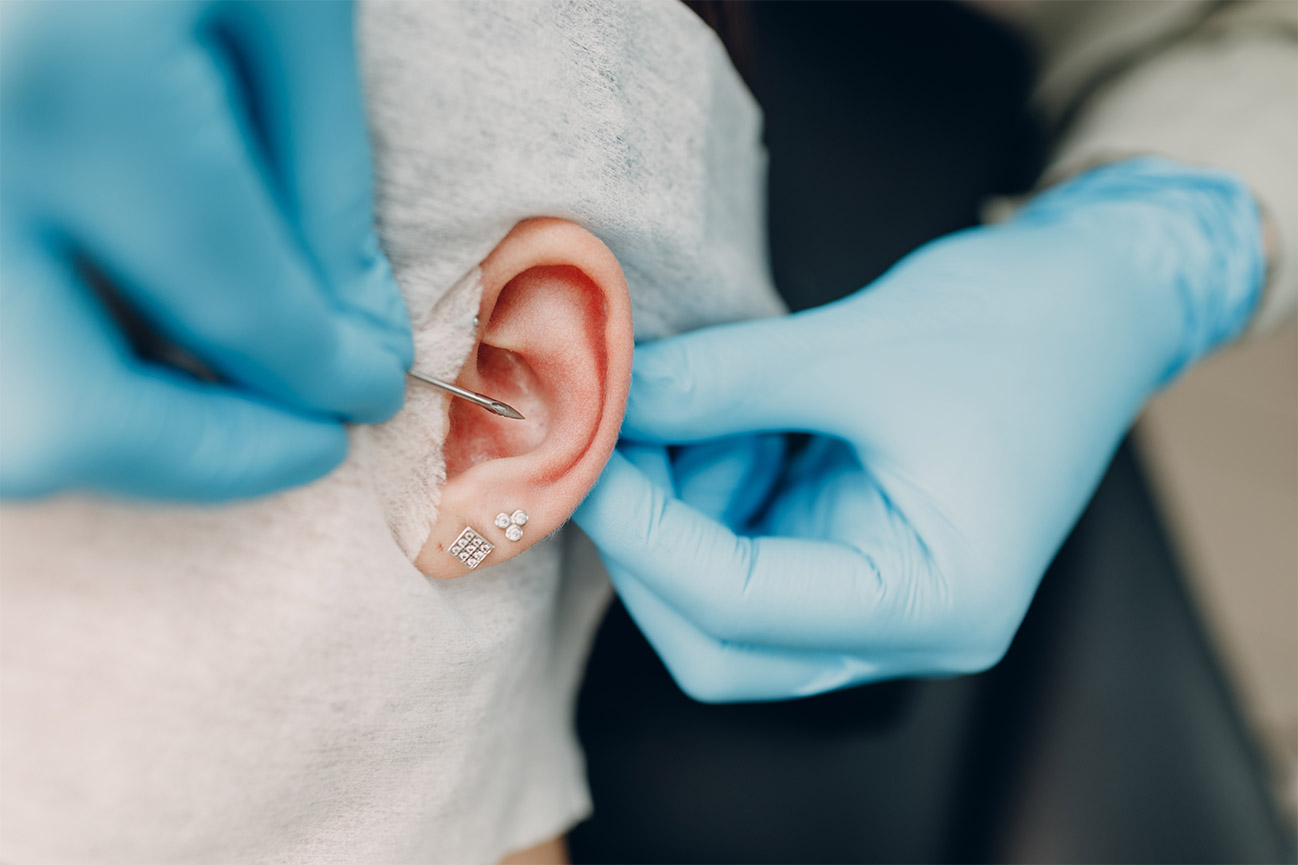
Ear Piercing Infection: Introduction
The excitement of a fresh ear piercing is unmatched, but rocking great style comes with a big responsibility. If you’re investing time and money in an ear piercing, understanding the healing process and spotting potential red flags is a must. In this guide, we’ll chat about piercing infections, discuss what’s considered normal irritation, and share tips on maintaining your piercing’s health. By the end of this guide, you’ll be armed with valuable insights into prevention, complications, and proper care. Let’s get started.
Ear Piercing Infection: Decoding Piercing Irritation and Infection
Getting any new form of body modification can be both thrilling and a bit nerve-wracking. When anything seems out of the ordinary, it’s only natural to feel a bit uneasy. The good news? You have the power to educate yourself and distinguish between piercing irritation and infection. This knowledge isn’t just crucial for your well-being; it’s the key to ensuring the enduring beauty and health of your piercing. Let’s look into these distinctions together, providing you with the insights you need for a healthy and enjoyable piercing experience.
Piercing Irritation
As your ear piercing heals, encountering piercing irritation is entirely par for the course. It’s your ear’s natural way of saying, “I’m in the process of recovery.” Here are some common signs that might catch your attention that are completely normal:
Redness: A touch of redness around the piercing is entirely normal – it’s your body’s way of sending extra blood to the area to assist in healing.
Swelling: A bit of swelling during the initial healing days is par for the course. It’s your body’s natural response to the piercing trauma. If it gets seriously swollen, it’s time to pay attention and seek the advice of your piercer or medical attention.
Tenderness: Your newly pierced ear might be sensitive to the touch, especially in the beginning. But as the healing progresses, that tenderness should ease up. Keep in mind unless you are cleaning your piercing it is important not touch it! This will keep your piercing free of unnecessary germs.
Discharge: If you spot a bit of clear or slightly yellowish fluid, fret not – it’s your body’s method of cleansing the wound.
Itching: Yes, it’s annoying, but a little itching can happen as your ear heals. Resist the urge to scratch; scratching can introduce unwanted bacteria. Like with tattoos, it is a good sign that your body is on the road to recovery and healing!
Crust Formation: A thin crust forming around your earring? No worries, it’s dried discharge and a sign that your body is working hard to heal.
Mild Discomfort: Expect some mild discomfort or soreness, particularly when you move the earring or lie on the pierced ear. It’s just your body signaling progress.
Earring Adjustments: Sometimes, the earring might shift or appear differently positioned. Don’t stress; your ear is getting used to its stylish new accessory.
Ear Piercing infection:
While ear-piercing infections share some similarities with common irritations, it’s crucial to be aware of their distinctions. Let’s clear up any confusion.
Redness
While mild redness in the first two weeks of a piercing is common and nothing to worry about. What you should worry about is if the piercing is bright red and highly inflamed. The combination of the two is a sign of potential infection and should be addressed immediately.
Discharge
Clear pus or discharge from your piercing is completely normal and part of your body’s healing process. What is not normal is green creamy discharge. Green is your body telling you that an infection is present. If you are at this point you should see the advice of your piercer or a medical professional. They will give you the best plan of action for getting your piercing back on track.
Bleeding
Ears are rich in blood supply so a small amount of bleeding the first day or two from your piercing is nothing to be alarmed about. If you are experiencing excessive bleeding accompanied by other symptoms such as severe swelling, throbbing pain, and green discharge your piercing may be infected and needs to be treated right away.
Remember, mild symptoms should gradually improve over a two week period from the time you get your piercing. If symptoms worsen significantly, persist for an extended period, or if you notice more alarming signs like severe pain, colored pus, fever, or excessive heat, it’s crucial to consult with a professional piercer or healthcare provider. Don’t take ear piercing infection lightly, the sooner you treat it, the more likely you are to keep your piercing and prevent other health complications.
Ear Piercing Complications:
Outside of ear piercing infections and irritation, there are other complications that can occur with ear piercings. Here are a few common complications explained:
Allergic Reaction:
If you have sensitive skin it is important to select quality jewelry for your ear piercing that will not cause irritation or an allergic reaction. Symptoms of an allergic reaction in your piercing to watch for are itching, rash, bumps, blisters, swelling and redness. Titanium jewelry is an excellent option to help prevent a reaction because it is 100% hypoallergenic and nickel free, making it safe for everyone to wear. There are no traces of nickel and it is a study material that is long lasting and resilient to corrosion. If you are unsure what type of jewelry material is best for you, always consult with your piercer, they will be able to guide you in the right direction.
Keloid Formation:
Keloids are fleshy scar tissue that tend to form after trauma to the skin. While ear piercings are safe and common there are instances where your body does not like them. As your piercing heals sometimes the body will produce excess scar tissue and may begin to form a keloid. There are individuals that may be prone to getting them because of genetics. Once you have a keloid formation they can be hard to get rid of without the help of a medical professional. Keloids can be removed surgically, with laser treatments or with the injection of corticosteroids to reduce the size of the keloid. Not all keloid cases are the same so it is important to seek the help of a medical professional that can tailor your treatment for your specific needs.
Torn ear piercing:
Ear piercings, especially those in the delicate earlobe area, can face the challenge of tearing, often encountered by individuals with a history of wearing heavy earrings or stretching their earlobes. Aging skin and prolonged use of heavy jewelry contribute to this vulnerability. Tearing incidents aren’t exclusive to a particular group; life’s unpredictability can lead to piercings getting caught or pulled, posing a risk for anyone. Fortunately, a straightforward procedure exists to mend earlobe tears. By removing excess skin and skillfully stitching the ear back together, this quick procedure offers a prompt solution with minimal downtime. Once healed, the option to re-pierce the ear presents itself, allowing a return to the joy of wearing ear jewelry.
Caring for Your Ear Piercing: Practical Tips for Prevention
Now that we’ve covered potential infections and risks in the world of ear piercings, let’s shift our focus to an essential aspect—how to care for your piercing and prevent complications. It’s not just about the act of getting pierced; it’s the ongoing care that ensures your piercing’s longevity. In the following section, we’ll discuss simple aftercare steps and essential tips tailored to ward off infections and irritation.
- Wash Your Hands:
Your journey to a well-healed piercing starts with the basics—washing your hands with antibacterial soap. This initial step is crucial; after all, your hands are the first point of contact. Steering clear of unwanted bacteria is key to preventing infections. - Clean Your Piercing:
Enter the star of the show—the sterile saline solution. Obtain a quality spray from your piercer, ensuring you cover both the front and back of your piercing meticulously. It’s normal for a bit of crust to form; don’t fret. No need to force it off—simply wipe away any loose bits with a clean gauze or paper towel. - Rinse with Warm Water:
A refreshing rinse with warm water follows, bidding farewell to any lingering solution residue. - Pat Dry:
Gently pat the pierced area dry with a clean, disposable paper towel or sterile gauze. Steer clear of q-tips or cotton balls to prevent fibers from getting trapped. And forget about cloth towels—bacteria hide there, and we certainly don’t want any unwanted guests on our healing journey. - Avoid Harsh Products:
The golden rule: say no to alcohol, hydrogen peroxide, or harsh chemicals. While they might sound tough, they’ll only dry out your piercing, disrupting the delicate healing process. Let’s keep it gentle for that radiant recovery. - No Touching! Hands off, please! Unless you’re in the middle of a cleaning session, resist the urge to touch or fiddle with your piercing. Give it the space it needs to heal without unnecessary interference.
- Follow a Consistent Cleaning Routine:
Consistency is key—clean your fresh ear piercing 2-3 times a day, sticking to the routine, until it’s fully healed. The first few weeks are critical for this dedicated care. Healing times vary; expect 4-6 months for earlobe piercings and 6-9 months for intricate piercings like the conch or helix.
Now that you know how to properly clean and care for your new ear piercings let’s talk about some extra advice to make your healing process smooth and seamless.
Changing your Jewelry:
While the prospect of new bling is exciting, patience is key. Only swap out your jewelry once your piercing is fully healed to avoid discomfort and potential irritation. Beware of premature jewelry changes, as they might lead to rejection, requiring a fresh piercing. Even if your piercing looks healed, remember, it’s a process from the outside in. If in doubt, consult your trusty piercer—they can assess your piercing’s status and even assist with a safe jewelry switch.
Sleep environment:
Transform your bedtime into a haven for healing. Ensure your sheets and pillowcases are consistently clean, creating a safe space for your delicate piercing. While adapting to sleeping with your new ear piercing might be a tad uncomfortable initially, it’s worth the effort. Steer clear of putting direct pressure on your fresh piercing to avoid snags on sheets. For added comfort try sleeping on your back or adding a travel pillow into the mix.
Keep it dry:
While healing new piercings, water can be both friend and foe. Feel free to indulge in refreshing showers, but refrain from submerging your piercing in bodies of water such as bathtubs, hot tubs and pools. If you’re washing your hair or applying products, make it a habit to rinse the piercing afterward. This simple step helps prevent irritation and discourages any unwanted buildup. Always keep in mind, a touch of additional care can greatly contribute to the overall health of your piercing.
Ear Piercing Infection: Final Thoughts
As we conclude this guide, keep in mind that the ear-piercing journey extends beyond the initial thrill—it’s a continual dedication. Your investment of time and resources calls for a watchful eye on the healing process, acknowledging potential concerns, recognizing signs of ear piercing infection and irritation, and ensuring the well-being of your piercing. This is a personal venture marked by patience and self-care. With the skills you’ve acquired, you’re now equipped to provide excellent care for both your current and future piercings.